|
||||||||
|
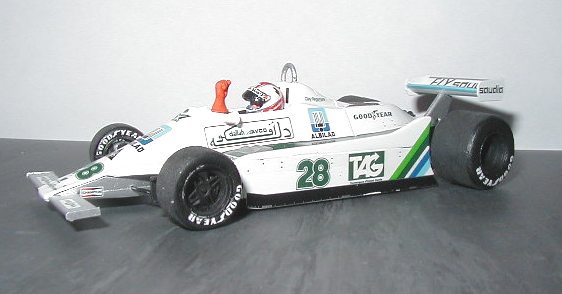
As a part time model builder I have always enjoyed building the Tameo Kits and turning them into small diorama using Denizen figures. As the demands of present day Grand Prix teams have meant that only Ferrari cars are modelled at 1/43rd Scale, Renault & Toyota are available in 2002 guise, Tameo have turned to some of the historical cars that raced before they started in the kit industry. This range of cars started me thinking and I have decided to have a go at building some limited edition (5 of each) diorama. Having already built the Senna FW-08 (reviewed in Amazing 43 some time back > Here) I decided to start with the Williams FW-07 that gave Williams Grand Prix Engineering its first Grand Prix win. This was the 1979 British GP at Silverstone with Clay Regazzoni driving. The Tameo kit is of the usual standard from this manufacturer with over 100 cast, photo-etched and turned parts. The build process is easy to follow from the computer generated 3D instructions and detail painting instructions are called for at each stage.
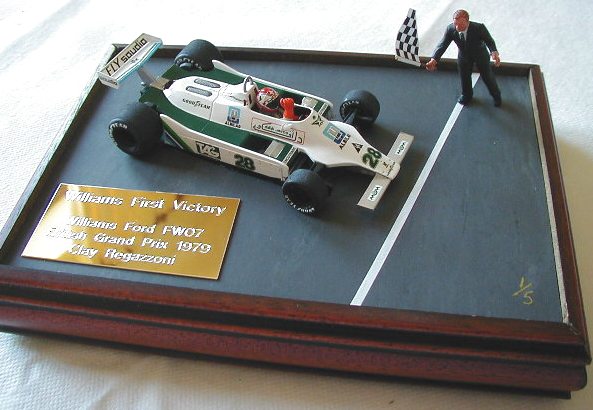
The main body part is painted white and the green areas are decals, the instructions call for the areas where the decals meet to be painted green before the decals are fitted. I fitted the decals first then just touched up any gaps after which seemed to work fine. There were no problems in the build of the kit which includes a detailed gearbox and rear suspension assembly. I decided for the diorama to have the car crossing the line at Silverstone with Regazzoni punching the air and a guy waving the chequered flag. I have used Denizen figures for several years and as of yet have not found anything better.
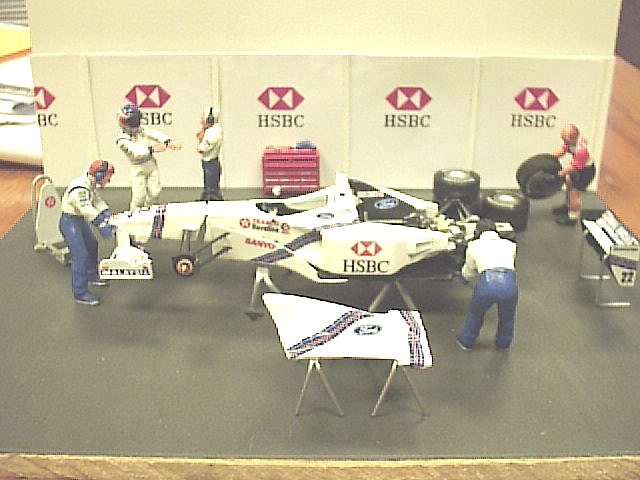
Prior to painting I prime the Denizen figures with white primer. The first few I ever painted I primed with grey, but the white brings out the colours better and can be left unpainted for any white patches. I use Games Workshop acrylic paints for the figures which give a bright finish and do not take too long to dry. The cream base colour was applied to the overalls and then the harness was detailed painted as well as the few sponsor's patches that could be seen for in the car. At this point the arms are still separate from the body and these too were painted in cream before the bright orange gloves were added along with the sponsor's patches. Once it was all dry it was dry fitted into the cockpit to make sure that the body would fit over the chassis, once happy with that it was permanently fixed.
The next stage was to paint the helmet, I opted for a helmet with the visor open, but there is a vast range of helmets to choose from. The helmet is probably the most difficult bit to paint, due to the fact that the design needs to be symmetrical and can be quite complex. At 1/43rd Scale you are trying to create an image of the design not a scale replica, some of the wording would be impossible to do at that size. The completed helmet is one of the last things added to the built car.
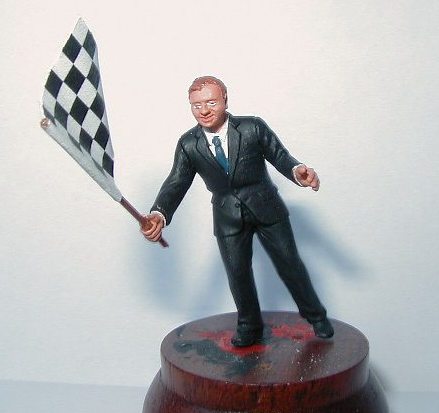
The flag man is slightly easier to paint as he is wearing a black suit, white shirt and dark blue tie. However there is a method to painting these figures and that is to work outwards, ie start with the eyes, skin, shirt, tie then finish with the suit and shoes. The flag is paper folded around a brass wire, both provided with the figure. I used kids paper glue and then put the folds in the flag before the glue fully dries to give the effect of fluttering. The bases for the diorama I build are made from all sorts of things, the majority of stuff comes courtesy of our railway friends as O gauge is almost 1/43rd Scale. The base for the Williams is a mock up for the photo. The actual base will be painted with a tarmac coloured textured paint and I want to incorporate a section of the pit lane wall with the flag man stood on the circuit as Regazzoni crosses the line arm raised! The whole thing is then finished off in a display case built using picture framing mouldings and glass.
The next subject is more up to date and will be Ferrari's 150th GP Victory in Canada this year. This will probably be of Schumacher crossing the line arm raised. I have included a few pictures of other diorama I have built.
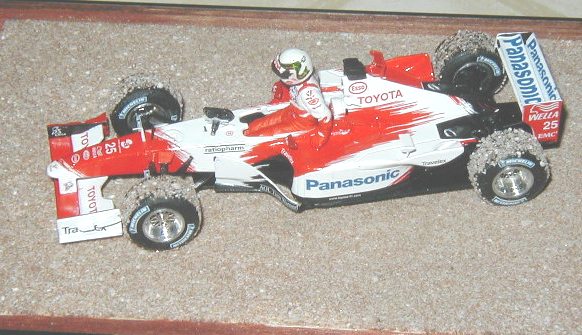
The Toyota is a slightly modified Tameo kit, I have not added the additional wings that were used at Monaco. The reason for this was to display it in a gravel trap and as there are none at Monaco I left them off. The gravel is the ballast used by railway modellers for the stones around the sleepers.
|