|
Manufacturer: Renaissance
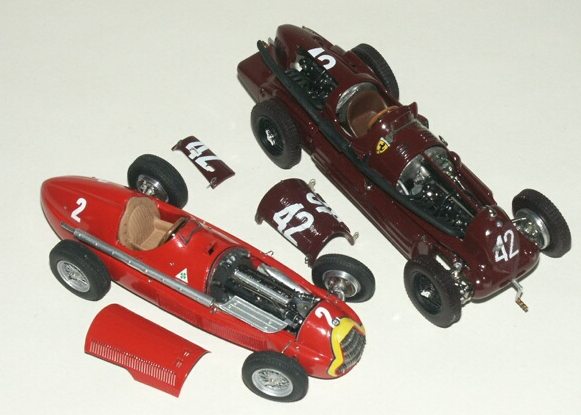
Alfa Romeo 158
Scale: 1:43
|
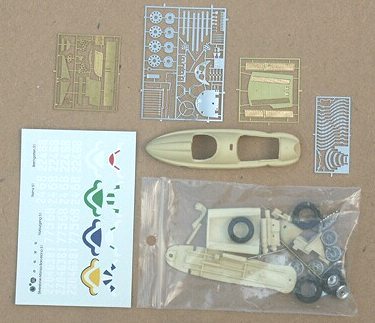
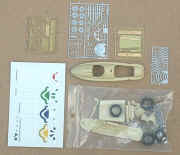
On opening the box we find the usual Renaissance goodies. Superb fine photo etch sheets, resin parts, wheels tyres etc. A quick glance at the instruction sheets indicate that some form of reference material would be of benefit as the instructions are far from comprehensive.
|
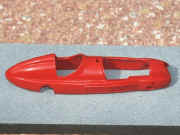
The body requires little in the way of preparation although there is a little sanding on the underside and a little filling. For this I use plastic two pack metal in preference to normal fillers.
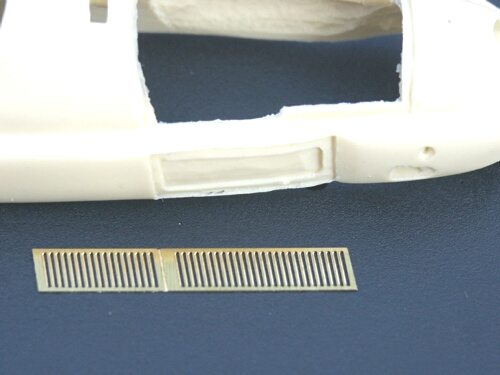
It sets very rapidly and sands to a much better finish than I have been able to achieve with other types. It was also noticed that there were two sections, one either side just behind the front wheels, were it appeared that the side louvres were meant to be fitted.
|
|
Not however the brass ones supplied with the kit. There was no way that these were meant to fit so I filled the gap, then fitted the louvres.
|
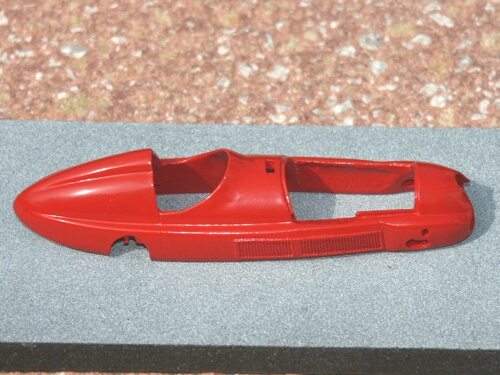
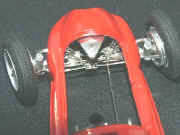
The next step was to prime with plastic primer and a few light coats of normal white primer. Allow to harden for a while, then two or three coats of Peugeot Cherry. When hard ,a light rub down with metal polish, a wash and then one last coat of Cherry. That's it, I'm happy with the body.
|
|
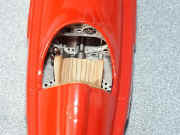
The next task was to check that the base fitted snuggly in the underside of the body, undercoat&paint the bottom satinblack and the inside ( floor), a darkish aluminium. The dark aluminium contrasts well with the drilled body braces and dashboard which are painted light grey, Fitted the pedals , gear lever and handbrake & the base was finished.
|
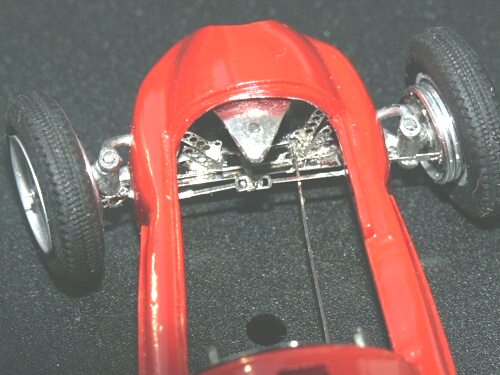
The seat and radiator, once painted were glued with twin pack epoxy to the inside of the body. These have to be strong as the base is screwed into them. The photo etched firewall is then glued into the bulkhead.
The front suspension & steering fitted quite easily but the rear was a bit of a problem because the instructions give virtually no idea what is supposed to be there! There is a photo so I made up the unit as best I could using my spares box and a little imagination.
|
|
|
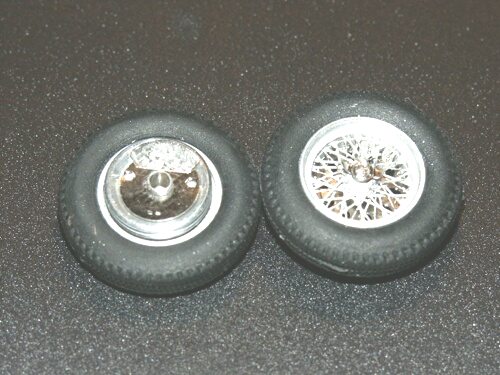
The wheels I painted aluminium and after fitting the brakedrums look super. The drums are turned aluminium and the photo etched outer & inner plates are a delight. The tyres are excellent. The finished wheels would be hard to better.
Don't a good set of wheels add a heck of a lot to the finished model? So many kits are let down by the poor quality of their wheels.
|

|
|
The engine was next. This was fairly straightforward with no problems, well not at this time. More about this later.
Next the body was fitted onto the base and the wheels glued on. All that was left now was to make up from scratch, (not in the kit), some wiring and pipework. A selection of different types of fuse wire a alloy tubing are very handy for this job.
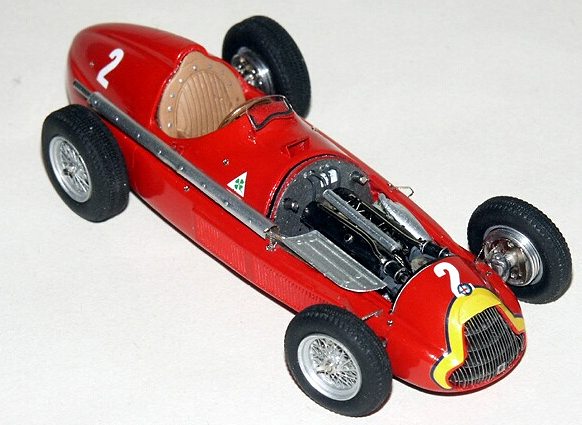
All the small photo etched clips and fasteners were now glued on using canopy glue which dries hard and clear. The decals were
applied and didn't it look good!
|
|
|
All in all this is a fine kit which with quite a lot of patience will look super. There were however a few very difficult features encountered during the build. The fitting of the body onto the base is somewhat of a nightmare. All of the engine and it's ancillaries didn't want to fit inside the body. I had to apply some pressure whilst carrying out this operation and was terrified that I was going to break everything, but with patience and a little good fortune I won in the end.
|
|
|
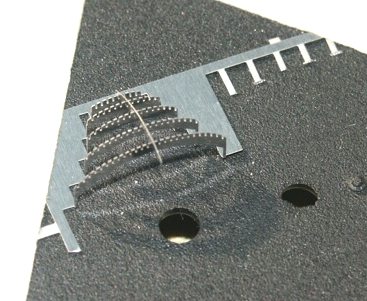
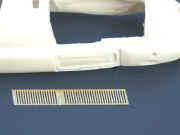
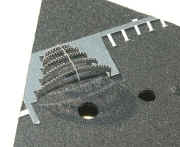
The other part which required some time, patience & a good magnifying glass, or in my case a headset purchased from Peter Radcliffe, was the grille. Now have assembled this type of grille before with a lot more hustle. Renaissance have had the clever idea of having the horizontal slats remain on the sprue until assembly is complete. I had merely to bend these upward 90 degrees, the vertical sections fitted next.
|
|
Finding the exact centre of the horizontal slats in which to fit the first vertical one requires sight a little better than mine but when this has been achieved it is straightforward thereafter, relatively that is!
|
One tip though, if you should decide to try one of these fine kits, when cutting the vert. slats off the sprue, shorten them just atad to make the fitting of the completed unit into the nose a little easier. Mine was very, very tight.
|
Well, that's that. Go get one Claude!
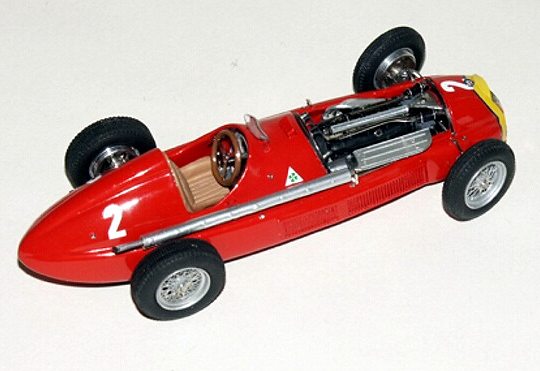
P.S. The other Alfa in the photo is Top Queen's glorious
Bi Motore.
|